After starting She-Ra for Roslin’s Halloween costume this year she decided that she really really really wanted to be a fox. I’m not sure if the what does the fox say song had anything to do with it or not but since she wanted that I decided to go for it.
Mask
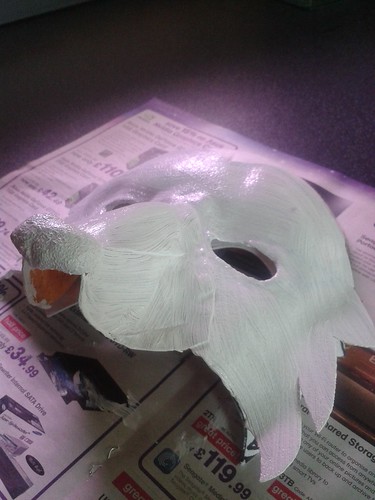
I started with the mask and decided to go with my favourite thermo-plastic Worbla. I used a card mask that I cut to the right shape to act as a template.
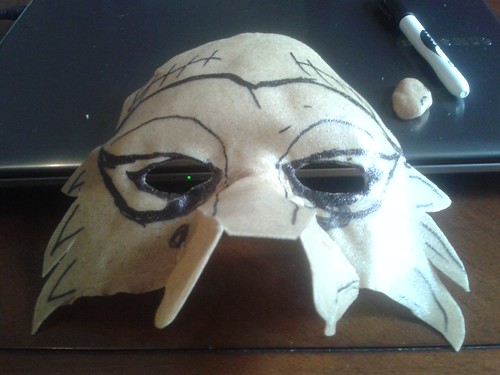
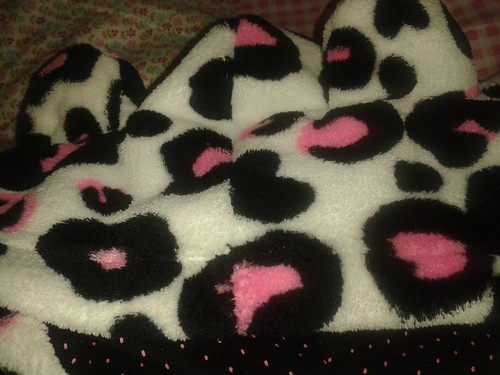
As you can see the muzzle is made from 3 sections with the nose separate, at the point I took this picture I hadn’t fully shaped the muzzle but this was done prior to painting. The nose is also made from worbla which was rolled into a ball and shaped then attached while still hot. The handy thing about worbla is that you can draw on it I attacked it so I could get a good idea of how it would look when painted up, the top of the mask at this point I was unsure if I was going to cut it shorter or leave it long for the ears to be attached to the mask. In the end I decided to put the ears on her suit and trimmed the mask down before putting the primer on.
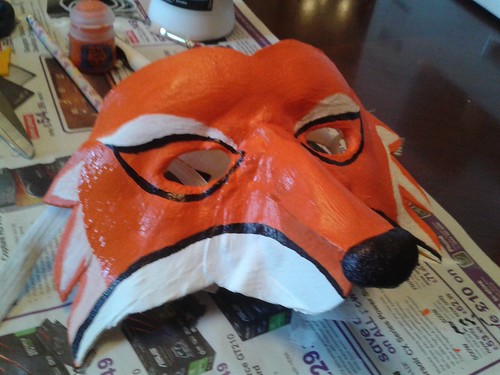
Like other projects I have done with Worbla I used canvas primer to prime the mask, this allowed it to have some flexibility. The canvas pain it thick and I dabbed it onto the fox nose to give it some texture and used smooth strokes on the remainder of the face. I applied a few coats as this evened out the joins in the muzzle before finally painting it.
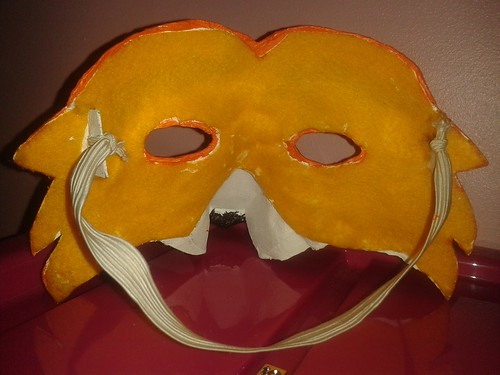
Last job to complete the mask was to give it some comfort so I headed to hobby craft and invested in a sheet of felt. I cut this to size and glued it into place. This prevented the plastic being on the skin so Roslin could wear it for long periods. The tabs to attach the elastic to the mask are again made from worbla with a hole to allow the elastic to be threaded through.
Now that the mask was finished and once I noticed how little time I had left I battled on with the suit, I didn’t take many progress shots but will do my best to explain how the suit came together.
Fox Suit
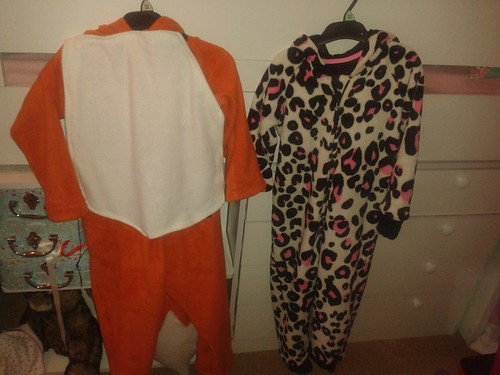
I used my daughters onesie (footless pyjamas) as a template.
The hood on the onesie was made of three sections and again I copied the hood as a template. doing the hood in the three sections gave it a band around the face and this helped keep the hood forward and to frame the face.
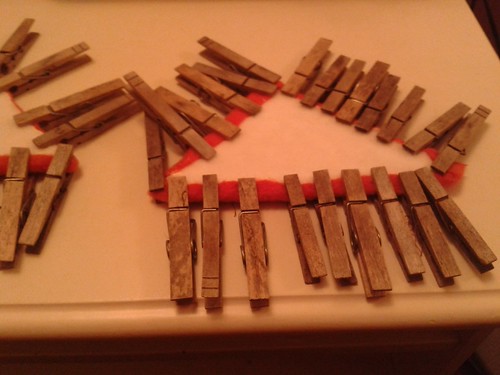
Next I decided to make the ears. I used craft foam which I cut into triangles and glued the same fabric as I used for her outfit to the ears. To get them the stay in position I used pegs to hold them while they dried.
I attached the ears to the hood with a bit of a bend which was easy to do with the foam in the centre. I simply sewed the back of the ear onto the hood and had both ends touching the fabric band around the hood I added a few extra stitched there to hold them in place.

Now that I had a body suit mask and ears I did a trial run and tried my hand at the tail. I was not sure about the tail it seemed to look like a giant carrot dipped in royal icing so some work was needed there and it was at this point I also decided to make a bib at the front to hide the zip.
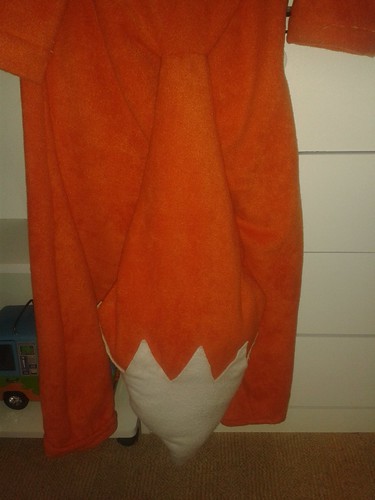
The tail I decided was just too big and the wrong shape so I made it narrower at the point it meets the body and added a bit less stuffing. The white end of the tail has been both stitched around the edges and also glued into place to make sure the pointed ends stayed on the orange part of the tail and didn’t curl.
The final part of the costume I completed was the bib. I wanted to give the ox a white chest and decided to do this as a bib that would also hide the zip. To do this I cut the bib shape and hemmed it. I then sewed half of the bib to the orange chest of her suit. The other half I attached stick (on the white part) and sew (on the orange part) Velcro this allowed the bib to open and the zip to be used to get in and out of the costume. Once the bib was attached the costume was finished.
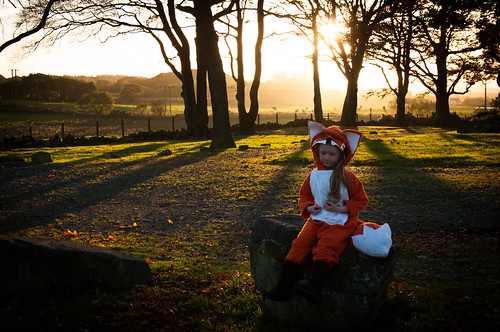
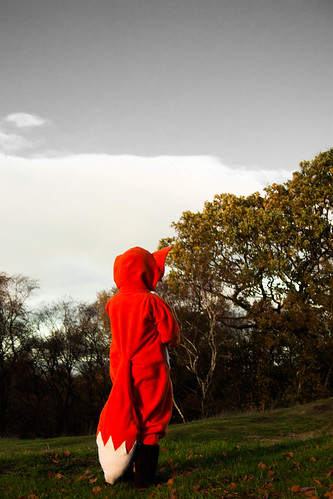
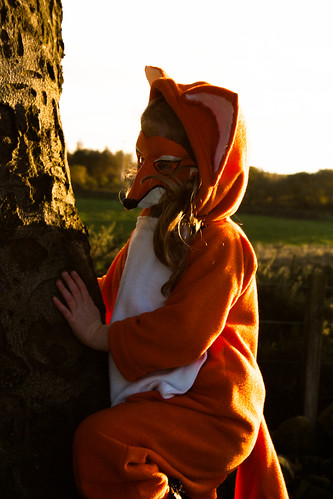
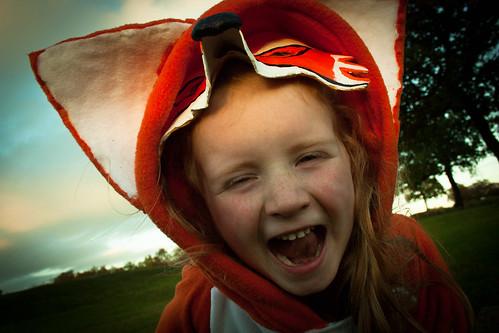
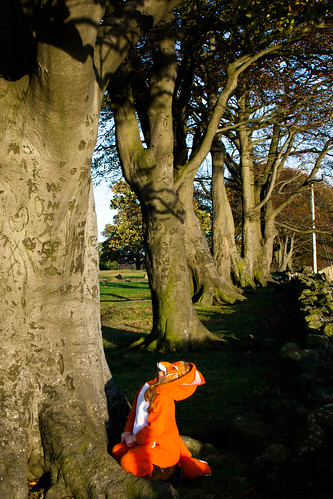
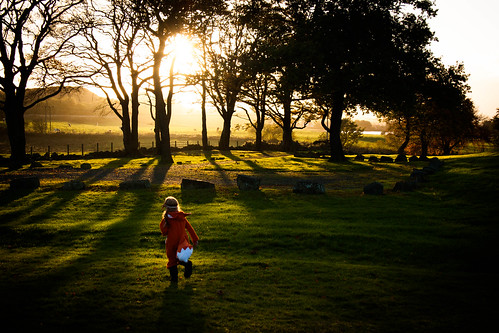
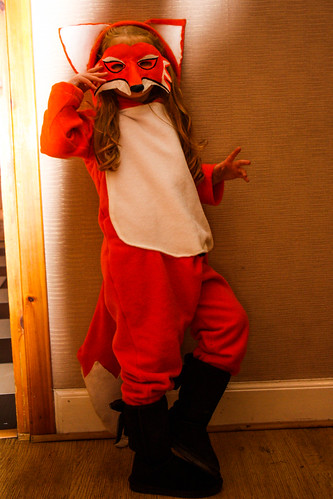
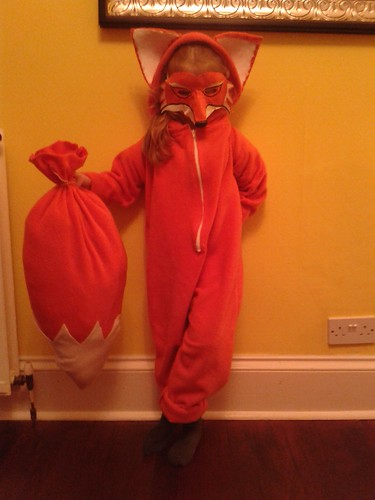
The finished Fox